
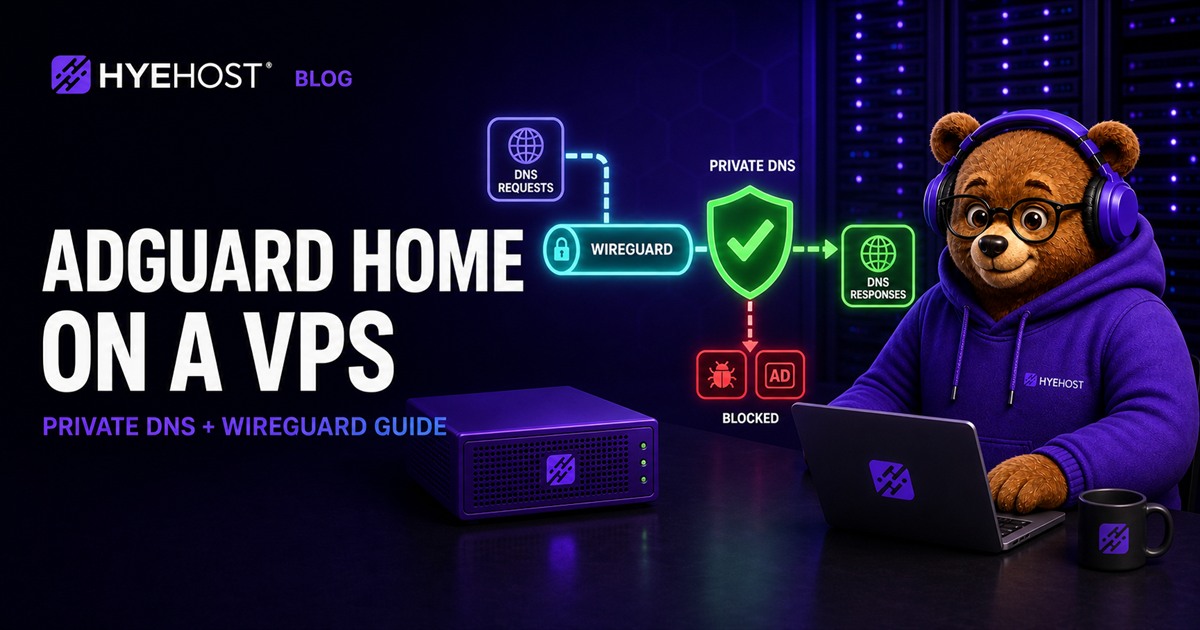
AdGuard Home is a self-hosted DNS resolver that blocks domains associated with advertising, tracking, malware and other unwanted traffic before a device connects to them. Hosting it on a VPS gives your devices one consistent filtering policy wherever they are, while WireGuard provides the private path that makes the resolver reachable without publishing it to everyone.
This guide deploys WireGuard natively on Ubuntu and runs the official AdGuard Home container with Docker Compose. DNS listens only on 10.66.66.1, the VPN interface. The setup dashboard listens only on localhost and is reached through an SSH tunnel. That separation is the most important part of the design.
AdGuard Home, WireGuard and HYE DNS Solve Different Problems
| Service | Role | Who queries it |
|---|---|---|
| AdGuard Home | Recursive DNS filtering and local rewrites | Your phones, laptops and private devices |
| WireGuard | Encrypted private path to the VPS | Enrolled VPN peers |
| Authoritative DNS | Publishes A, AAAA, MX and other domain records | Resolvers across the internet |
AdGuard Home does not host the public zone for your domain, and authoritative HYE DNS does not filter browsing traffic. You may use both: HYE DNS publishes your services, while AdGuard Home privately resolves and filters requests from your own devices.
VPS Requirements and Plan
A personal deployment is lightweight. Start with 1 vCPU, 1 GB RAM and 10 GB SSD storage. Choose 2 GB RAM if you want large filter lists, longer query retention or other containers. Use a current Ubuntu LTS image and a VPS location near the people who will query it; DNS latency is added to the start of new connections.
- A public IPv4 address, or working IPv6 on every client path
- Root or sudo access
- Docker Engine and the Compose plugin
- UDP port
51820allowed inbound - SSH restricted to your administrative addresses where practical
Patch the host, install WireGuard and confirm Docker:
sudo apt update
sudo apt full-upgrade -y
sudo apt install -y wireguard qrencode
docker version
docker compose version
If Docker is not installed, follow our Ubuntu Docker guide first.
Configure the WireGuard Server
Create server keys with restrictive permissions:
sudo install -m 700 -d /etc/wireguard
umask 077
wg genkey | sudo tee /etc/wireguard/server.key | wg pubkey | sudo tee /etc/wireguard/server.pub
sudo cat /etc/wireguard/server.pub
Create /etc/wireguard/wg0.conf. Replace SERVER_PRIVATE_KEY and PUBLIC_INTERFACE; find the latter with ip route show default.
[Interface]
Address = 10.66.66.1/24
ListenPort = 51820
PrivateKey = SERVER_PRIVATE_KEY
PostUp = sysctl -w net.ipv4.ip_forward=1
PostUp = iptables -A FORWARD -i wg0 -j ACCEPT
PostUp = iptables -A FORWARD -o wg0 -m conntrack --ctstate RELATED,ESTABLISHED -j ACCEPT
PostUp = iptables -t nat -A POSTROUTING -o PUBLIC_INTERFACE -j MASQUERADE
PostDown = iptables -D FORWARD -i wg0 -j ACCEPT
PostDown = iptables -D FORWARD -o wg0 -m conntrack --ctstate RELATED,ESTABLISHED -j ACCEPT
PostDown = iptables -t nat -D POSTROUTING -o PUBLIC_INTERFACE -j MASQUERADE
Enable forwarding persistently and start WireGuard:
echo 'net.ipv4.ip_forward=1' | sudo tee /etc/sysctl.d/99-wireguard.conf
sudo sysctl --system
sudo systemctl enable --now wg-quick@wg0
sudo wg show
ip address show wg0
Create the first client
umask 077
wg genkey | tee client1.key | wg pubkey > client1.pub
cat client1.pub
Add the client public key to the server:
[Peer]
PublicKey = CLIENT_PUBLIC_KEY
AllowedIPs = 10.66.66.2/32
Restart wg-quick@wg0. Create a client configuration using the client private key, server public key and your VPS address:
[Interface]
Address = 10.66.66.2/32
PrivateKey = CLIENT_PRIVATE_KEY
DNS = 10.66.66.1

[Peer]
PublicKey = SERVER_PUBLIC_KEY
Endpoint = VPS_PUBLIC_IP:51820
AllowedIPs = 0.0.0.0/0
PersistentKeepalive = 25Install AdGuard Home with Docker Compose
Create persistent directories and a Compose file:
sudo mkdir -p /opt/adguard-home/{work,conf}
cd /opt/adguard-home
sudo nano compose.yaml
services:
adguard-home:
image: adguard/adguardhome:latest
container_name: adguard-home
restart: unless-stopped
security_opt:
- no-new-privileges:true
ports:
- "10.66.66.1:53:53/tcp"
- "10.66.66.1:53:53/udp"
- "127.0.0.1:3000:3000/tcp"
volumes:
- ./work:/opt/adguardhome/work
- ./conf:/opt/adguardhome/confThis deliberately omits DHCP and public encrypted-DNS ports. The VPN already authenticates and encrypts the path. Start the container:
sudo docker compose up -d
sudo docker compose ps
sudo docker compose logs --tail=100 adguard-home
If Docker starts before WireGuard during a reboot, the private address may not exist yet. Add a service dependency with sudo systemctl edit docker:
[Unit]
[email protected]
[email protected]
Then run sudo systemctl daemon-reload. This makes the intended start order explicit.
Complete the AdGuard Home Setup Safely
Do not open port 3000 publicly. Forward it through SSH from your computer:
ssh -L 3000:127.0.0.1:3000 your-user@VPS_PUBLIC_IPOpen http://127.0.0.1:3000 locally. In the wizard, choose all interfaces inside the container for the web and DNS listeners; the host-side Docker bindings still restrict where those ports are reachable. Set a unique administrator password and complete setup.
Choose upstream resolvers under Settings → DNS settings. Plain DNS upstreams remain protected between your device and the VPS by WireGuard, but the VPS-to-upstream leg is separate. AdGuard Home also supports encrypted upstream URLs when you want encryption on that leg.
- Start with the default filters and add lists only for a clear reason.
- Enable safe browsing or parental controls only if their policy fits your use case.
- Set query-log and statistics retention deliberately; DNS histories are sensitive.
- Add local DNS rewrites for private service names if useful.
Connect and Test Your Devices
Import the WireGuard client file into the official app, or render a QR code locally on the server console with qrencode -t ansiutf8 < client1.conf. Treat the configuration as a secret: it contains the client's private key.
Connect, then verify the tunnel and resolver:
ping 10.66.66.1
nslookup example.com 10.66.66.1
nslookup doubleclick.net 10.66.66.1
Open the AdGuard Home query log and confirm the client request appears. Test from mobile data as well as Wi-Fi. If you selected a full tunnel, check your apparent public address and use an independent DNS leak test. Never assume that a connected VPN icon proves DNS is using the intended resolver.
Security and Privacy Checklist
- Do not publish port 53: confirm
ss -lntupshows DNS on10.66.66.1, not the VPS public address. - Keep admin local: use the SSH tunnel for the dashboard instead of exposing port 3000.
- Use one key per device: revoke a lost device without rotating every peer.
- Limit retention: query logs can reveal browsing habits even when content is encrypted.
- Patch regularly: update Ubuntu, WireGuard, Docker and AdGuard Home.
- Check IPv6: a client with native IPv6 can bypass an IPv4-only full tunnel unless you design and test IPv6 routes.
DNS filtering is not a complete security control. It can block known hostnames, but it cannot inspect content, reliably remove same-domain advertising or protect a compromised device from every connection method.
Back Up and Update AdGuard Home
The work and conf directories contain runtime data and configuration. Back up both, plus /etc/wireguard, to storage outside the VPS. Stop the container briefly for a consistent archive:
cd /opt/adguard-home
sudo docker compose stop
sudo tar -czf /srv/backups/adguard-home-$(date +%F).tar.gz work conf
sudo docker compose start
Keep WireGuard keys in a separate encrypted backup. To update AdGuard Home:
cd /opt/adguard-home
sudo docker compose pull
sudo docker compose up -d
sudo docker compose logs --tail=100 adguard-home
After every update, resolve a normal domain, confirm a known filtered domain is blocked, reconnect one remote client and inspect the query log.
Common AdGuard Home VPS Problems
| Problem | Likely cause | Check |
|---|---|---|
| Container cannot bind port 53 | Address missing or another listener | ip addr show wg0 and sudo ss -lntup '( sport = :53 )' |
| VPN connects but DNS fails | Wrong client DNS or container stopped | nslookup example.com 10.66.66.1 and Compose logs |
| Internet fails in full-tunnel mode | Forwarding or NAT rule missing | sysctl net.ipv4.ip_forward and WireGuard PostUp rules |
| Dashboard unavailable | SSH tunnel absent or setup port changed | Reconnect the tunnel and inspect container ports |
| Some adverts remain | Same-domain delivery or cached result | Review query log; DNS blocking has inherent limits |
| Works until reboot | Docker started before wg0 | Check both systemd units and the Docker dependency |
AdGuard Home on a VPS FAQ
Can I run AdGuard Home on a VPS?
Yes. A small Linux VPS can run AdGuard Home for personal devices. Keep the recursive DNS service private behind WireGuard instead of exposing port 53 publicly.
Should AdGuard Home port 53 be public?
No. An unrestricted public recursive resolver can be abused and may contribute to DNS amplification attacks. Bind DNS to the WireGuard address and expose only the VPN port.
Does AdGuard Home block YouTube adverts?
Not reliably. DNS filtering acts on hostnames, while YouTube can serve adverts and video from overlapping domains. Browser or client-side content filtering is better suited to that case.
Is AdGuard Home the same as authoritative DNS hosting?
No. AdGuard Home is a recursive filtering resolver for client devices. Authoritative DNS publishes the records for domains. They solve different problems.
How much RAM does AdGuard Home need on a VPS?
A personal deployment is lightweight and commonly fits on a VPS with 1 GB RAM. Choose more memory for large filter lists, long query retention or additional services.
Build Private DNS, Not an Open Resolver
The safest AdGuard Home VPS is intentionally boring from the public internet: one WireGuard port, restricted SSH, no public DNS listener and no public admin panel. Inside the tunnel, every enrolled device gets the same filters, local rewrites and query visibility wherever it connects.
Start with a HYEHOST Cloud VPS, use our Docker installation guide for the container runtime, and keep authoritative HYE DNS for the separate job of publishing your domain records.